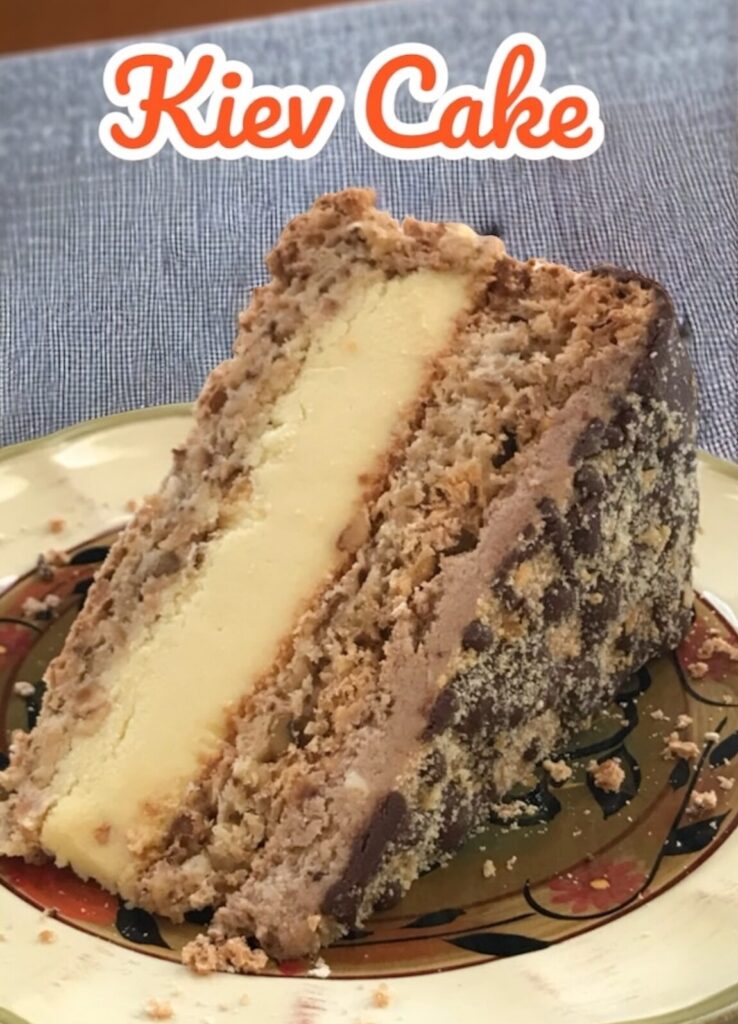
If something makes me proud, is putting together desserts like the Kiev Cake. This dish has so much history! It should be considered one of the best cakes on earth, it’s on my top ten for sure.
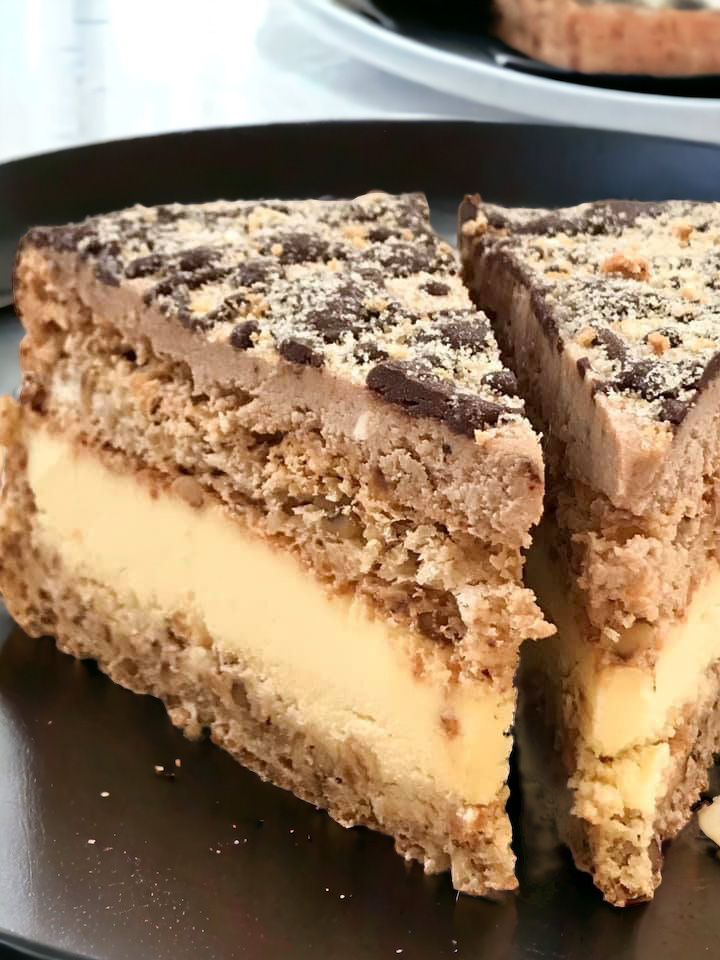
So, what is a Kiev cake? Imagine a layered cake. A nutty, fragrant meringue-based cake as a base, a layer of creamy custard, a mix of meringue, cashews and peanuts, and a chocolate glaze. It’s incredibly delicious and complex.
The Kiev Cake, though, is more than its flavors, textures and hints of Cognac — It’s a piece of history.
The cake became famous in Kiev, Ukraine’s capital city, in 1956. It was actually developed in a Soviet confectionery factory, but don’t think for a second this is not a thing of artisan beauty, it’s that and more.
The cake became so popular it was shipped all around the Soviet Union and became a national symbol. It’s still today, the better-known Ukrainian dessert.
How to make the perfect Kiev Cake
I won’t lie, this is quite a project to undertake. And it all starts one day before. The Kiev Cake calls for a unique meringue, which is the heart and soul of the recipe.
To get the meringue right, you must leave the egg whites sitting overnight at room temperature in an airtight container; you read that right.
According to the legend, factory workers left egg whites unattended overnight, which became the extraordinary meringue that made this cake special. This is a two-day adventure, but trust me, it’s so worth it!
I use cashews and peanuts for my version, but you can use any nuts you have at home.
I’m sure you’ll be pleasantly surprised once you assemble your buttercream custard — Buttery, creamy and livened with Cognac, this is one of the most delicious fillings you’ll ever make.
What you’ll need
For day one, make sure you have a bowl to create your meringue and two round cake pans, preferably 10-inch spring-form pans. You’ll also need a medium saucepan to cook your custard.
The next day you’ll need a bowl to finish your buttercream custard. If you’ve baked layered cakes before, you got this; if not, I’ll guide you every step of the way.
Make sure you serve your Kiev Cake very cold, that way you’ll make certain it doesn’t fall apart. It’s tastier that way too!
PrintKiev Cake
Ingredients
- 12 egg whites
- 2.5 cups sugar
- 7 oz cashews (coarsely chopped)
- 5 oz peanuts (coarsely chopped)
- 3/4 cup flour
- 1 tsp vanilla
Buttercream:
- 12 egg yolks
- 2 cups milk
- 1.5 cup sugar
- 1 lb butter
- 2 Tbsp cognac
- 2 Tbsp cocoa powder
Chocolate glaze:
- 1 cup of chocolate chips
- 4 tbsp of oil
Microwave for 1 minute, stir until chocolate is melted.
Instructions
1st day:
- Mix egg whites until foamy; gradually add sugar and keep mixing. Add vanilla. Mix until stiff peak.
- Mix nuts with flour, then add to the whites and slowly mix with a silicone spatula until all is blended together well.
- Line two 10″ round cake pans with parchment paper. Divide meringue into two pans and bake for 1hr and 45min. at 300F.
- Cool on wire racks and let it stay overnight.
- To make custard cream pour milk in a medium saucepan. Add sugar and bring to boil.
- Mix egg yolks slightly in a separate bowl, add little of boiling milk, mix and then pour yolks into boiling milk. Cook stirring until the mixture boils.
- Remove from heat, cover and leave to cool. Refrigerate overnight.
2nd day:
- Beat softened butter until creamy; gradually add custard cream, add cognac. Then beat some more.
- Take cake layers out of pans, remove parchment. Place first layer on the serving plate; put spring form side around.
- Pour approximately 3/4 of cream over and then place second cake layer on the top but invert it so the bottom of the second layer is the top of the cake as the bottom is more even and will be easier to spread the cream on.
- Add cocoa in remaining cream, mix well and spread over the top layer.
- Refrigerate the cake several hours or overnight.
- Once the cake is well set remove the spring form side; pour over chocolate glaze.
*If you do not have spring form side big enough then refrigerate cream until firm enough to fill the cake without spring form.
If this Ukranian cake impressed you, I suggest trying the Russian (Korolevsky) Cake next!